

Table of Contents
- What Makes a Baby Safety Gate Secure
- Pressure Fit vs Screw Fit Stair Gates: Which Is Right for Your Home
- How to Install a Stair Gate Without Drilling
- Retractable vs Swing-Open Gates: Installation and Use
- Safety Standards and Certifications for Baby Gates
- When to Stop Using a Stair Gate
- Measuring Your Opening Width and Choosing the Right Gate
- Durability, Maintenance, and Long-Term Wear
Last Updated: August 23, 2026
What Makes a Baby Safety Gate Secure
A secure baby safety gate combines three essential elements: a stable frame that resists force, a reliable locking mechanism that a child cannot operate, and proper installation that prevents the gate from being dislodged or toppled.
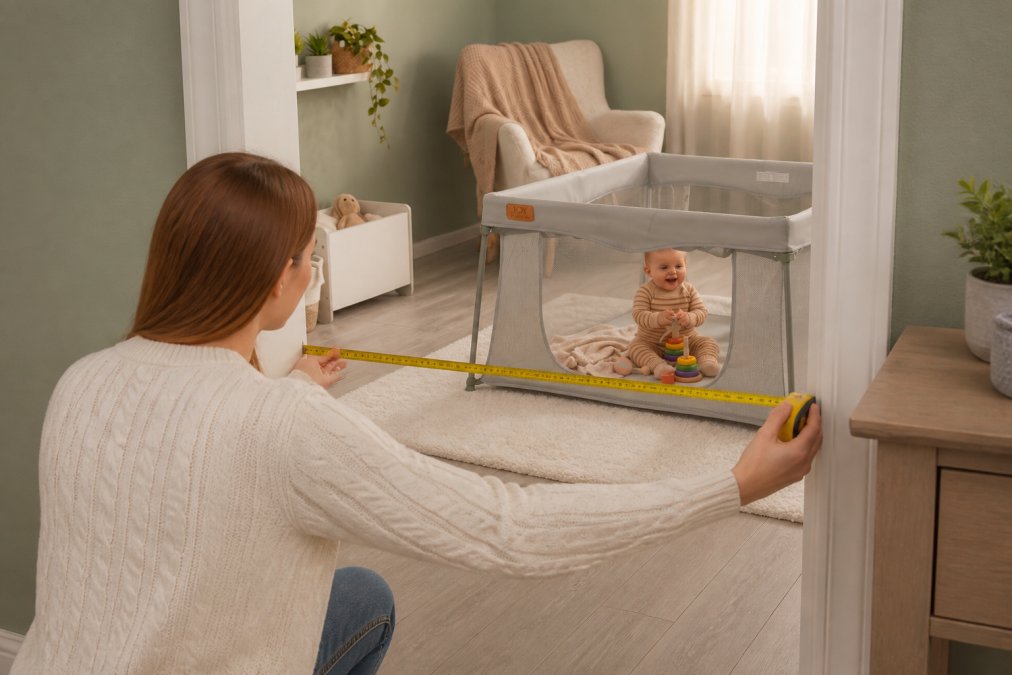
The frame must be rigid enough to withstand a determined toddler leaning, pulling, or climbing on it. Pressure-fit gates rely on tension between two fixed points, while screw-fit models anchor directly to the structure with hardware. Both approaches work, but each has trade-offs in terms of installation damage and flexibility.
The locking mechanism is where many gates fail. Look for latches that require a deliberate, two-step action, press and lift, or twist and push. The mechanism should feel stiff when new, not loose or rattly.
Installation matters as much as the gate itself. According to the British Standards Institution's safety guidance, proper installation is the most commonly overlooked factor in gate failures. The gap between the gate and the wall or banister should be no more than 6mm, small enough that a child's head cannot fit through.
Pressure Fit vs Screw Fit Stair Gates: Which Is Right for Your Home
Pressure-fit gates are installed without drilling or permanent fasteners. They rely on tension between two fixed points, typically a wall and a banister. The main advantage is reversibility, when you no longer need the gate, you remove it without leaving holes or damage. They're also faster to install, most take under five minutes without tools.
The trade-off is stability. Pressure-fit gates depend entirely on the integrity of the surfaces they're pressed against. A determined toddler who finds the weak point can sometimes rock the gate enough to create a gap. They're also less suitable for very wide openings.
Screw-fit gates are mounted directly to the wall or banister using brackets and screws, creating a more permanent, rigid installation. The gate cannot shift because it's anchored directly to the structure.
For staircases and high-traffic areas, this rigidity is a significant advantage.
The downside is installation damage. You'll have holes in your wall or banister that need filling when the gate comes down. Installation also takes longer and requires tools.
The UK's child safety standards do not differentiate between pressure-fit and screw-fit installations, provided both are installed correctly. For most families, the choice comes down to your living situation and your banister quality. If you rent, or your banister is in poor condition, go pressure-fit. If you own and want maximum stability for a high-traffic staircase, screw-fit is the stronger choice.
How to Install a Stair Gate Without Drilling
Installing a gate without drilling begins with choosing a pressure-fit model. Start by measuring your opening width accurately. Most pressure-fit gates work within a specific range, typically 60cm to 100cm, though some extend further. If your opening is outside this range, you may need an extension kit.
Position the gate at the top or bottom of the staircase. For the top of stairs, the gate should open away from the stairs, never towards them. Check that the gate is level using a spirit level on the top rail.
Apply pressure gradually using the adjustment wheels or tension mechanisms on the sides. Turn these slowly until the gate feels solid. Test it by pushing firmly, it should not move. Be careful not to over-tighten, as this can warp the frame or damage the wall.
Once installed, test the gate daily for the first week. Pressure-fit gates can settle slightly as materials adjust to the tension. For gates with a locking mechanism, ensure it operates smoothly and that you can open it one-handed while carrying a child.
One common mistake is installing the gate too close to the banister post. Leave at least 2-3cm of clearance on either side of the post.
Retractable vs Swing-Open Gates: Installation and Use
Retractable gates roll or collapse to the side, disappearing when not in use. They're ideal for spaces where a swinging gate would block a doorway or hallway and take up minimal space when open. Installation is typically pressure-fit, so no drilling is needed.
The drawback is durability. The retracting mechanism is more complex, with more moving parts to wear out. The mesh or fabric can tear if a child catches it repeatedly.
Swing-open gates pivot on hinges and swing fully open. They're mechanically simpler, with fewer components to fail. The auto-close feature is more reliable on swing-open models because the mechanism is straightforward. Installation can be either pressure-fit or screw-fit, depending on the model.
The trade-off is space. A swing-open gate requires clearance on both sides. In a narrow hallway or doorway, an open gate can block your path.
For staircases, swing-open gates are generally preferred. The simple hinge mechanism is less likely to fail, and the auto-close feature ensures the gate closes even if you forget. Test the auto-close mechanism regularly, it should close smoothly without slamming.
Safety Standards and Certifications for Baby Gates
All baby safety gates sold in the UK must meet BS EN 12227:2010, the current British Standard for safety gates (bsigroup.com). This standard covers testing for stability, strength, and hazards like sharp edges or gaps that could trap fingers.
The standard requires that a gate withstand a force of 100 newtons without moving and resist a horizontal force of 150 newtons. Gaps between the gate and the wall, or between vertical bars, must not exceed 6mm. Horizontal surfaces that a child could climb on must be spaced more than 30cm apart.
The locking mechanism must be child-resistant but operable by an adult with one hand. When you purchase a baby safety gate, check that it displays the CE mark and references BS EN 12227:2010.
The Nook and Nurture Company's JOY Collapsible Playpen and JOY Foldable Playpen both meet BS EN 12227:2010, ensuring they provide the protection your family deserves.

When to Stop Using a Stair Gate
Most families stop using stair gates between ages 3 and 4, though the right time depends on your individual child's development and confidence.
A child is ready to navigate stairs independently when they can climb up and down while holding a banister, placing one foot on each step. This typically happens between 18 months and 2 years, but the timing varies widely. The real milestone is judgment, your child needs to understand that stairs are dangerous and should not rush or play on them. This cognitive understanding usually develops between ages 3 and 4.
Watch for these signs of readiness: your child can climb and descend stairs confidently without falling, holds the banister without being reminded, understands the concept of danger, and no longer attempts to squeeze through or climb over the gate.
Even when your child is ready to use stairs independently, consider keeping the gate in place at night or during times when you cannot supervise closely. Once you remove the gate, supervise stair use closely for several weeks and reinforce safe stair use consistently.
Measuring Your Opening Width and Choosing the Right Gate
Accurate measurement is the foundation of choosing a gate that actually fits. Measure the width of your opening at three points: top, middle, and bottom. Use the widest measurement to determine which gate you need.
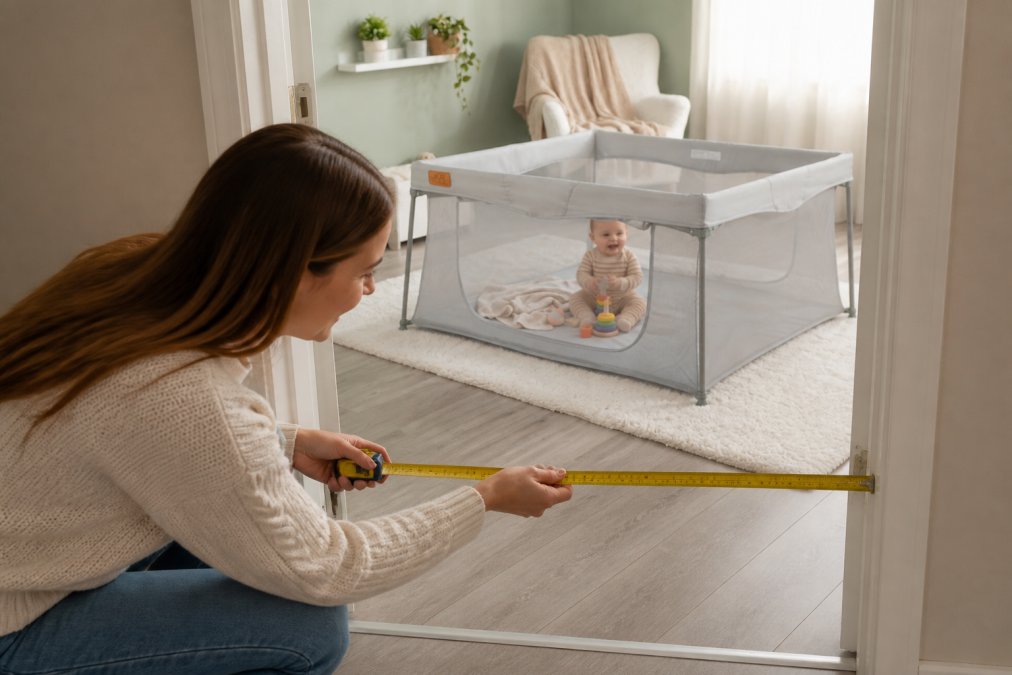
Check the gate's adjustment range. Most pressure-fit gates work within a range, for example, 60-100cm. For openings wider than 110cm, you'll need an extension kit, typically costing £20-40.
Measure the height of your opening as well. Most gates are 60-65cm tall, suitable for staircases. Once you've confirmed the dimensions, consider the installation method. If your opening is between two walls or between a wall and a banister, a pressure-fit gate will work. If one side is a post or narrow surface that won't hold pressure, you may need a screw-fit model.
Test-fit the gate if possible before purchasing. Some retailers allow you to bring a gate home on a trial basis.
Durability, Maintenance, and Long-Term Wear
A baby safety gate is equipment you'll use dozens of times a day for months or years. Build quality and durability matter.
The frame should be made from aluminium or hardwood, not plastic. Plastic frames become brittle over time and can crack. Aluminium is lightweight and durable; hardwood ages well if maintained.
Mesh or fabric panels should be tightly woven and resistant to tearing. Hinges and locking mechanisms wear with use. Test your gate's latch weekly, it should engage smoothly and hold firmly. If it becomes loose or stiff, clean any dust or debris around the mechanism.
For pressure-fit gates, check the tension adjustment mechanisms monthly. Clean the gate regularly with a damp cloth and mild soap. Avoid harsh chemicals that can damage the finish.
Inspect the gate for damage before each use. Look for cracks in the frame, tears in the mesh, or sharp edges. A gate with visible damage should be repaired or replaced.
If you're using a hand-me-down gate or one you've stored for several years, inspect it thoroughly before use. Check that all parts are present, that hinges move freely, and that the locking mechanism works.
The Nook and Nurture Company's safety gates are built for daily use. The materials are chosen for durability, and the mechanisms are tested to withstand repeated use without degradation.
Choosing the right baby safety gate comes down to understanding your home's layout, your child's age and development, and your own lifestyle. The best gate is the one that fits your space, meets current safety standards, and that you'll actually use consistently.
The Nook and Nurture Company has carefully selected safety gates that balance protection, ease of use, and durability. Our 30-day risk-free trial means you can install a gate, test it in your home, and return it if it doesn't fit your needs. With guaranteed next-day shipping and 100% secure payments, getting your home safer is straightforward. Explore our range of certified safety gates and find the one that works for your family.
Frequently Asked Questions
Are pressure-fit or screw-fit gates safer for stairs?
Screw-fit (hardware-mounted) gates are generally considered the safer choice for the top of stairs because they're permanently secured to the wall and cannot be dislodged by a child pushing or climbing. Pressure-fit gates work well for doorways and the bottom of stairs, but they rely on tension and can shift if a determined toddler leans against them. For stair safety, BS EN 12227:2010 recommends hardware-mounted installation at the top of stairs.
What is the minimum height requirement for a baby safety gate?
Most safety gates must be at least 60 cm tall to prevent children from climbing over them. However, for top-of-stair installations, many parents choose gates 70 cm or taller for added security. Check the manufacturer's specifications and the safety certification, as requirements vary by gate design and your child's age and development stage.
Can I use a freestanding baby gate at the top of stairs?
No. Freestanding and pressure-fit gates should never be used at the top of stairs. They lack the stability needed to prevent a fall if a child pushes hard or climbs. Only hardware-mounted, screw-fit gates secured directly to the wall or bannister are appropriate for stair safety. Freestanding gates work well for blocking doorways, kitchens, and the bottom of stairs.
When should I stop using a stair gate?
Most children can safely navigate stairs independently between ages 3 and 4, though this varies widely. Stop using the gate when your child demonstrates consistent ability to climb stairs safely with support, understands stair hazards, and can follow safety instructions reliably. Rather than removing it suddenly, you can leave it unlocked so they practise under supervision, then remove it once they've shown sustained safe behaviour over several weeks.
This article was written using GrandRanker


